Fish fingers are a beloved comfort food that bring joy to many. With their crispy exterior and tender interior, they make for a quick and satisfying meal or snack. Creating Fish Finger at home is simple and offers the benefit of tailoring the flavors to suit your preferences. In this comprehensive guide, we’ll take you through each step to achieve perfect fish fingers in your own kitchen.
Ingredients for Homemade Fish Fingers Recipe
Before diving into the cooking process, it’s essential to gather all the necessary ingredients. Having everything ready will make the preparation smooth and enjoyable.
Selecting the Best Fish Fillets for Crispy Fish Fingers
Choosing the right fish is crucial for making delicious Fish Finger. Opt for firm white fish fillets like cod, haddock, or pollock. These varieties hold their shape well during cooking and offer a mild flavor that complements the breading beautifully.
Essential Ingredients for Breaded Fish Fingers
The breading is what gives Fish Finger their iconic crunch. You’ll need:
- 1 cup of all-purpose flour
- 2 large eggs
- 2 cups of breadcrumbs (panko breadcrumbs are excellent for added crunch)
Seasonings and Additional Ingredients for DIY Fish Sticks
To enhance the flavor of your fish fingers, gather these seasonings and extras:
- Salt and pepper to taste
- 1 teaspoon of paprika
- 1 teaspoon of garlic powder
- Lemon wedges for serving
- Oil for frying (vegetable or canola oil are ideal choices)
Considering Alternative Flavors for Homemade Fish Fingers
If you’re adventurous, consider experimenting with additional spices and herbs. A pinch of cayenne pepper or a teaspoon of dried herbs like thyme or dill can add a unique twist to the traditional recipe.
Choosing the Right Fish for Your Perfect Fish Fingers
The choice of fish can greatly affect the outcome of your Fish Finger. Here’s a deeper dive into why the right fish matters.
Understanding Firm White Fish for Fish Fingers
White fish with a firm texture is recommended because it withstands the frying process without falling apart. Cod and haddock are popular choices, but you can also explore other firm white fish options available in your region.
Flavor Profiles of Fish for Fish Sticks
Each type of Fish Finger its own subtle flavor. Cod has a slightly sweet taste, while haddock is more savory. Knowing these nuances can help you select the fish that best suits your taste preferences.
Opting for Sustainably Sourced Fish for Homemade Fish Fingers
When purchasing fish, consider opting for sustainably sourced options. This not only supports environmental efforts but often ensures the fish is of high quality.
Preparing Fish Fillets for DIY Fish Sticks
Proper preparation of the fish is key to achieving the perfect fish fingers. Let’s break down the steps involved.
Step 1: Slicing Fish for Easy Fish Fingers
Begin by slicing the fish fillets into strips that resemble fingers. Aim for uniformity in size, approximately 1 inch wide and 3 inches long. This ensures even cooking and makes handling easier during the breading process.
Step 2: Seasoning Fish for Breaded Fish Sticks
Seasoning the fish is a critical step that adds depth of flavor. Sprinkle the strips with salt, pepper, paprika, and garlic powder. Gently rub the seasonings into the fish to ensure even coverage and infusion of flavors.
Step 3: Marinating Fish for Crispy Fish Fingers
For an extra burst of flavor, consider marinating the fish strips for about 15 minutes. A simple marinade of lemon juice and a dash of olive oil can work wonders in elevating the taste.
Setting Up a Breading Station for Made-from-Scratch Fish Fingers
Creating an efficient breading station is essential for coating the fish fingers with a crispy layer.
Organizing Ingredients for Homemade Fish Fingers
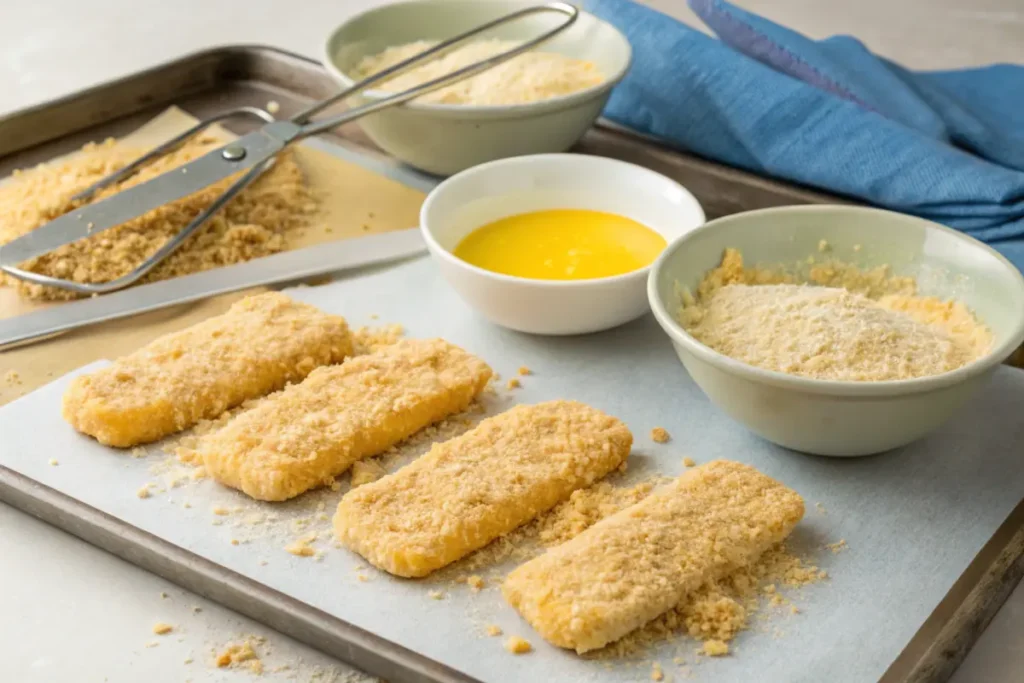
Set up your breading station in an organized manner. Place the flour, beaten eggs, and breadcrumbs in separate shallow dishes for easy access.
Flour Coating: The First Step for Crunchy Fish Fingers
The flour acts as the first layer in the breading process. It helps the egg adhere to the fish and creates a base for the breadcrumbs to cling to.
Egg Mixture for Binding Breaded Fish Sticks
Beat the eggs until smooth and place them in a bowl. The eggs act as a binding agent, allowing the breadcrumbs to stick effectively to the fish.
Breadcrumbs: The Secret to Crispy Homemade Fish Fingers
Combine the breadcrumbs with a pinch of salt and paprika for added flavor. Panko breadcrumbs are preferred for their larger, airier texture, which results in a crunchier coating.
Adding a Personal Twist to DIY Fish Sticks
Feel free to personalize the breadcrumb mixture by adding grated Parmesan cheese or dried herbs for an extra flavor dimension.
Step-by-Step Guide to Breading Fish Fingers

The breading process involves a few simple steps to ensure each strip is perfectly coated.
Step 1: Coat with Flour
Take each fish strip and dredge it in the flour, ensuring it is evenly coated. Shake off any excess flour to avoid a clumpy coating.
Step 2: Dip in Egg
Next, dip the floured fish strip into the beaten eggs. Make sure the strip is fully submerged and coated with the egg mixture.
Step 3: Cover with Breadcrumbs
Finally, roll the egg-coated fish strip in the breadcrumb mixture. Press lightly to ensure the breadcrumbs adhere well, creating an even and crunchy coating.
Ensuring Even Coating
Take your time during this process to ensure each fish finger is evenly coated. This attention to detail will result in a superior final product.
Frying the Fish Fingers
Frying is where the magic happens, transforming the breaded fish strips into crispy delights.
Step 1: Heat the Oil
In a large frying pan, pour enough oil to reach about 1 inch in depth. Heat it over medium-high heat until a small piece of breadcrumb dropped in sizzles immediately.
Step 2: Fry the Fish
Carefully place the breaded fish strips into the hot oil. Fry them in small batches to prevent overcrowding, which can lead to uneven cooking and soggy results.
Step 3: Cook Until Golden
Fry each fish finger for approximately 3-4 minutes on each side, or until they are golden brown and thoroughly cooked. Use a slotted spoon to remove them from the oil and place them on paper towels to drain excess oil.
Monitoring Oil Temperature
Keep an eye on the oil temperature throughout the frying process. If the oil cools too much, the fish fingers will absorb excess oil and become greasy.
Serving Suggestions
Fish fingers are incredibly versatile and can be served in numerous delicious ways.
Classic Fish Finger Sandwich
For a classic option, serve the fish fingers in a sandwich. Add tartar sauce, fresh lettuce, and slices of tomato for a complete and satisfying meal.
Finger Lakes Fish Platter
Pair your fish fingers with a selection of sides like creamy coleslaw, crispy potato wedges, and a fresh garden salad. This combination creates a delightful Finger Lakes fish platter perfect for sharing with friends and family.
Dipping Delight
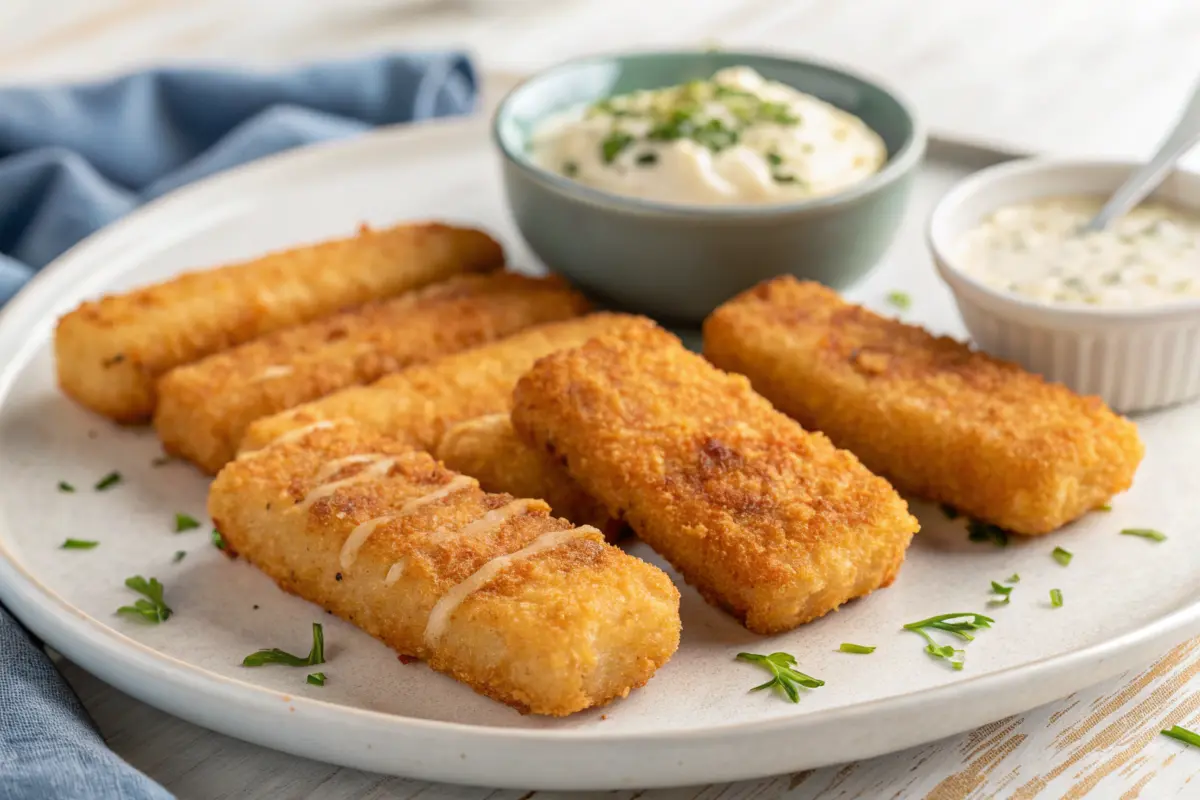
Offer a variety of dipping sauces such as tangy tartar sauce, classic ketchup, or a zesty lemon aioli. This approach is ideal for casual gatherings or parties where guests can mix and match their preferred flavors.
Creative Presentation Ideas
Consider presenting the fish fingers on a wooden board with garnishes like parsley or lemon slices for a restaurant-style touch.
Tips for Perfect Fish Fingers
Achieving the perfect fish fingers involves a few key tips to enhance the process and outcome.
Use Fresh Fish
Whenever possible, use fresh fish for the best results. If fresh fish is not available, frozen fish can also work, but ensure it is thoroughly thawed before use.
Breadcrumbs Matter
Panko breadcrumbs are recommended for their superior crunch. For those who prefer a lighter coating, crushed cornflakes can be an excellent alternative.
Oil Temperature
Maintaining the correct oil temperature is crucial. If the oil is too cool, the fish fingers will absorb more oil and become greasy, while oil that’s too hot can burn the coating.
Don’t Overcrowd
Fry the fish fingers in batches to maintain the oil temperature and ensure even cooking. Overcrowding the pan can result in soggy fish fingers and uneven browning.
Experiment with Flavors
Feel free to experiment with different spices and seasonings to create unique flavor profiles. Adding a pinch of cayenne pepper or a dash of lemon zest can elevate your fish fingers to new heights.
Storing and Reheating For Handmade Fish Fingers

If you have leftovers, storing and reheating them properly ensures they remain delicious.
Proper Storage
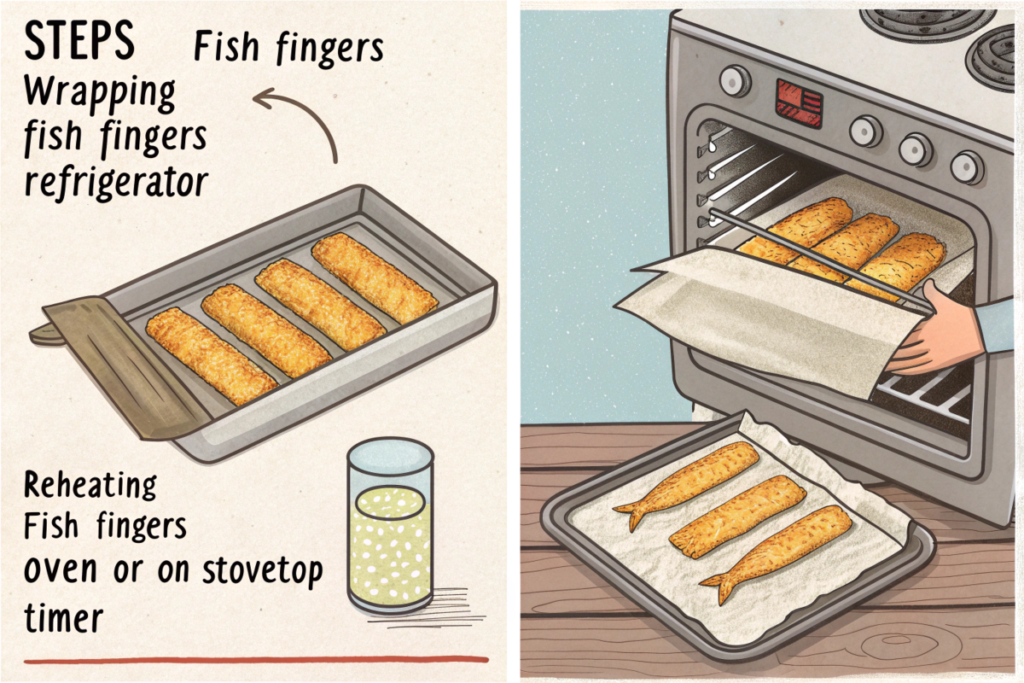
Place any leftover fish fingers in an airtight container and store them in the refrigerator. They will keep fresh for up to 3 days.
Reheating Techniques
To reheat, place the fish fingers on a baking sheet and warm them in a preheated oven at 350°F (175°C) for about 10 minutes. This method helps restore their crispiness.
Avoiding Sogginess
Avoid using the microwave for reheating, as it can make the fish fingers soggy. The oven or a toaster oven is the best choice for maintaining their texture.
Conclusion
Making fish fingers at home is a delightful and rewarding process that results in a delicious meal everyone will enjoy. With a few simple ingredients and straightforward steps, you can create crispy, flavorful fish fingers anytime you desire. Whether served in a sandwich, on a platter, or as a snack with dips, homemade fish fingers are sure to impress.
Enjoy the satisfaction of crafting your own perfect fish fingers and sharing them with family and friends. Happy cooking!

